Free 3D model converter

OBJ to schem converter: turn a 3D model into Minecraft blocks

Upload an .obj, or a .zip with its .mtl and textures, choose a size and a block palette, and watch the model rebuild itself in blocks in your browser. When the preview looks right, download a Sponge v3 .schem.

Free to start · No credit card

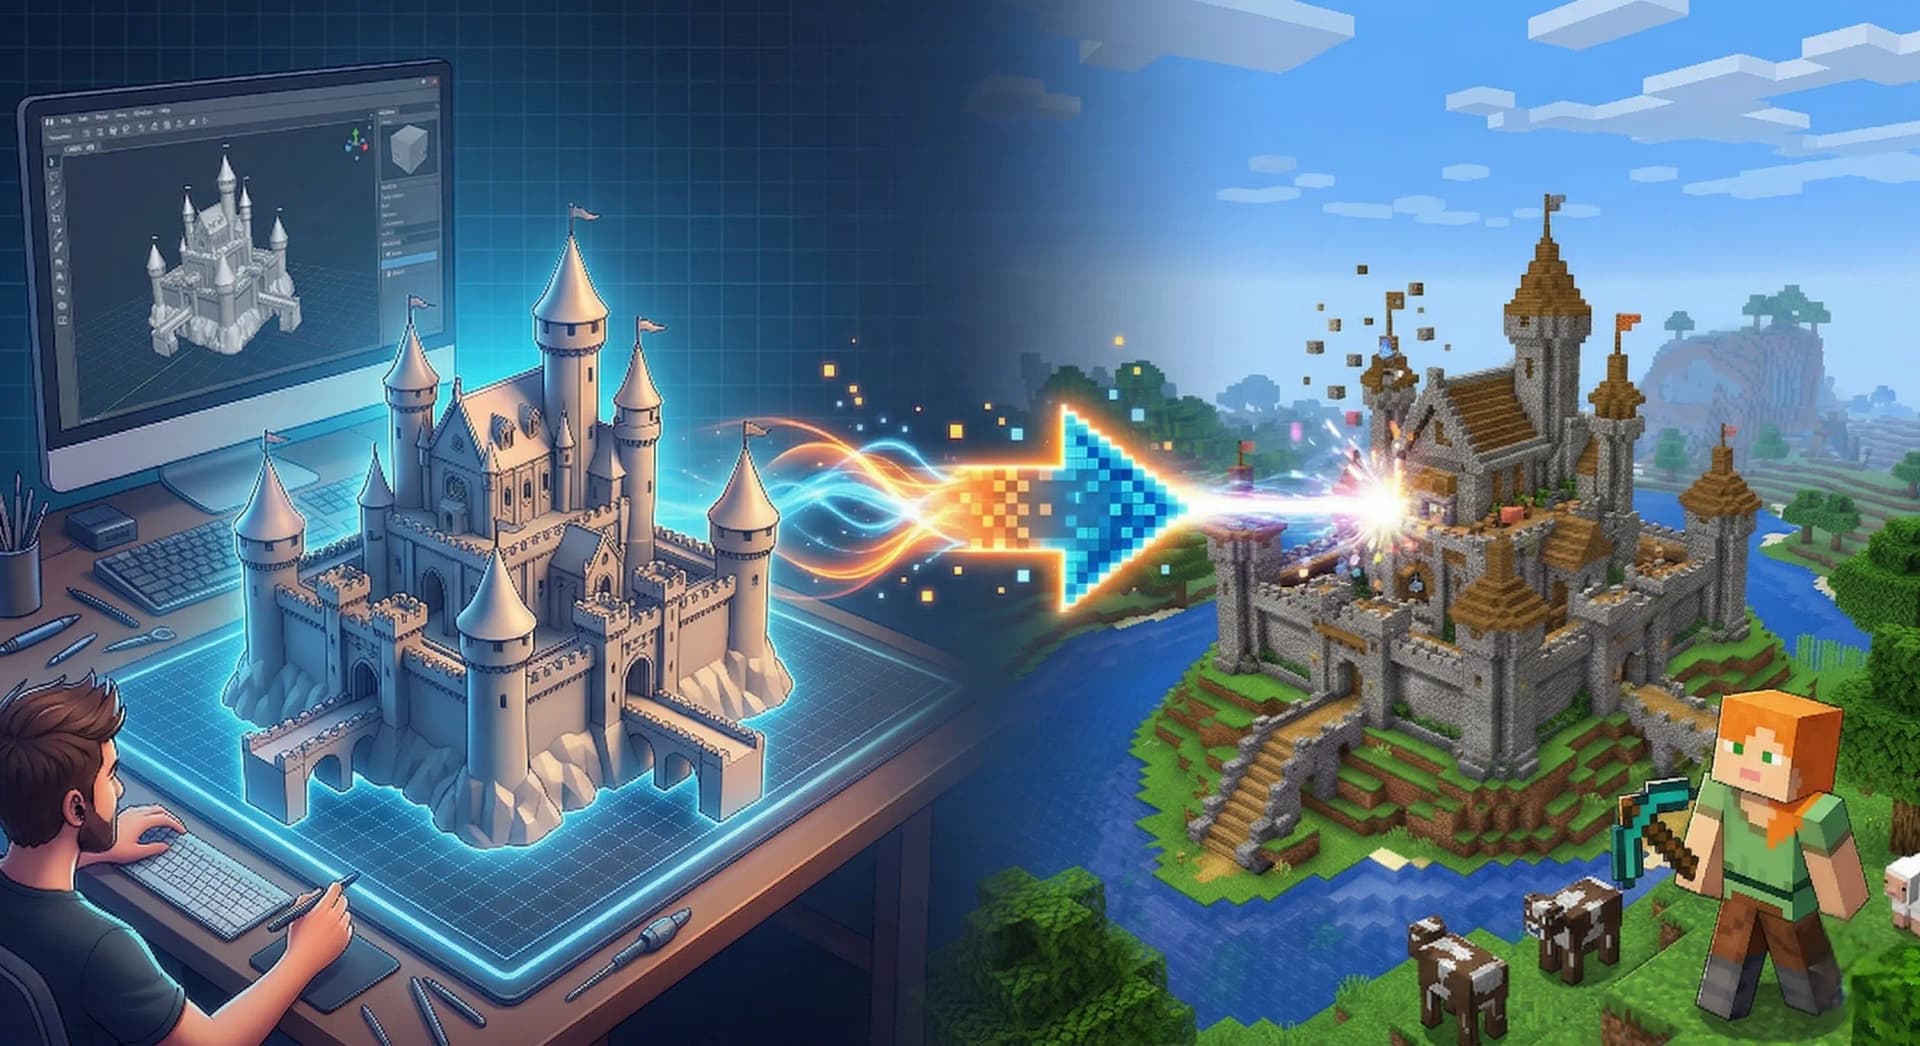
A 3D castle model on a desk turning into a Minecraft castle made of blocks

OBJ or ZIP, 500 MB max

Send the mesh alone or zipped with its .mtl and texture images. A progress bar follows the import.

Live voxel preview

The block version of your model renders in the browser and refreshes when you change a setting.

Perceptual color matching

Texture colors are matched to blocks in LAB color space, which follows how the eye compares colors.

Free with your account

Sign in with Google and convert without credits. The file opens in WorldEdit, FAWE, Litematica and Axiom.

How OBJ to schem conversion works

An .obj file describes a surface: vertices, faces and texture coordinates, with the colors kept in a separate .mtl file and its images. Minecraft needs a grid of blocks instead. The converter fits your model into a grid whose longest axis matches the size you choose, fills the cells the model occupies and reads the texture color at each position.

Each color is then matched to a Minecraft block in LAB color space, which is built around how people perceive color differences. That keeps rust, skin tones and foliage recognizable once they turn into blocks. The result is written as a Sponge v3 .schem, readable by WorldEdit, FastAsyncWorldEdit, Litematica and Axiom.

Preparing a 3D model for the converter

Many conversion problems start in the file rather than in the settings. A few checks before uploading save several rounds of trial and error:

Also close any holes in the mesh. Open or single-sided surfaces can leave gaps once the model becomes blocks.

  • Zip the .obj with its .mtl and every texture image it references. An .obj uploaded alone carries the shape but no texture.
  • Delete ground planes, backdrops and helper objects. The longest axis sets the scale, so a wide floor shrinks the model standing on it.
  • Real-world units do not matter, since the model is rescaled to the block count you pick. Only its proportions carry over.
  • Details thinner than one block at your target size, such as cables, fingers or railings, tend to vanish or break into gaps.
  • Very dense meshes take longer to upload. A simplified copy loses little at 80 blocks or fewer.

Picking the size and the number of colors

Size is the number of blocks on the longest axis, from 5 to 80. Four presets cover the usual cases: S (15) for a small decoration, M (25) for a prop or a vehicle, L (40) for a statue at spawn and XL (60), the default, for a centerpiece.

Block count grows much faster than size: doubling the size multiplies the volume by eight. Start small, check the silhouette, then scale up.

The color setting decides how many distinct colors are kept, starting at 4, with 16 by default. Fewer colors give flat, clean areas that suit stylized models. More colors keep gradients, but on a busy texture they also create speckles.

Block families, palettes and auto-fit stairs

Color blocks and stone are always part of the conversion. Stairs and slabs are on by default and can be switched off for a full-block look.

Palette presets fill the list of allowed blocks in one click: Concrete (the default, 16 concrete colors), Terrain, Rock, Planks, Wool, Earth tones, Copper+, Honey home, Jungle, Sculk and The End. You can also type your own allowed list, and a list of forbidden blocks keeps things like diamond blocks or obsidian out of the result.

Auto-fit stairs swaps the top step of each slope for a stair block facing the right way, which smooths domes, hulls and curved roofs. It needs materials with stair variants, such as planks, stone or bricks, so it does nothing on the concrete-only default. It applies to the Java .schem only.

Reading the voxel preview before you download

Once the file is uploaded, a voxelized 3D preview renders in the browser and updates when you change the size, the color count or the block families. A label recalls the current size and color count.

The block palette panel lists every block the conversion used, with a search field. Click a block to swap it for another Minecraft texture everywhere it appears, or delete it to turn it into air. Ctrl+Z undoes the last change, and your replacements are applied to the exported file.

Advanced voxelization adds two options that affect both preview and export. Block variation breaks up flat areas with neighboring palette blocks, with a patch size and an option to vary hue too. Hollow mode keeps an outer shell 1 to 8 blocks thick, for 5 to 10 times fewer blocks on a solid model.

Common OBJ to schematic problems and fixes

When the preview looks wrong, the cause is usually on this list:

If a model still converts badly, try a small size first: it shows quickly whether the geometry or the settings are to blame.

  • Dark, muddy build: shadow-baked or dark textures map to black and gray blocks. Brighten them before export, or replace the darkest blocks.
  • Speckled surfaces: too many colors for a noisy texture. Lower the count a few steps.
  • Tiny model: a floor or backdrop set the longest axis. Remove it and upload again.
  • Missing colors: the .mtl or the images were left out of the .zip.
  • Auto-fit stairs changes nothing: the palette only holds concrete. Try Planks, Rock or Terrain.
  • Heavy file for a statue nobody enters: turn on hollow mode.

How it works

  1. 1

    Upload the model

    Drop an .obj, or a .zip with the .mtl and textures, up to 500 MB.

  2. 2

    Set size and palette

    Pick a size preset, a color count and a block palette while the preview updates.

  3. 3

    Fix blocks in 3D

    Replace or delete any block from the palette panel, with undo.

  4. 4

    Save your schematic

    Get the Sponge v3 file, plus a Bedrock .mcstructure if you enabled it.

Converter settings to start from

Stone statue for a spawn
Size L (40) · 16 colors · Rock preset · stairs and slabs on · auto-fit stairs on · hollow, 2-block shell
Wooden ship or cabin
Size XL (60) · 12 colors · Planks preset · auto-fit stairs on · forbidden: crimson_planks, warped_planks
Small prop or vehicle
Size S (15) · 8 colors · Concrete preset · stairs and slabs off · no block variation
Rock formation or cliff
Size M (25) · 10 colors · Terrain preset · slabs on · block variation 30 · patch size 4
Colorful mascot
Size L (40) · 16 colors · Wool preset · hollow on · Bedrock export on

Frequently asked questions

Is the OBJ to schem converter free?

Yes. Sign in to Spaleforce with Google and you can preview, convert and download without credits or a credit card.

Which files can I upload?

An .obj file, or a .zip containing the .obj with its .mtl and texture images, up to 500 MB. If your model is in another format, open it in your 3D software and export it as .obj first.

Does the converter keep my textures?

It keeps their colors. The converter reads the texture at each block position and picks the closest Minecraft block in LAB color space, so zip the .mtl and images with the .obj.

How big can the converted build be?

Between 5 and 80 blocks on the longest axis, with presets at 15, 25, 40 and 60. The other axes follow the proportions of your model.

Which tools open the .schem file?

WorldEdit, FastAsyncWorldEdit, Litematica and Axiom. The file uses the Sponge v3 schematic format.

Can I convert an OBJ for Bedrock Edition?

Yes. Turn on the Bedrock export and you get a .mcstructure file in addition to the Java .schem.

Can I choose which blocks are used?

Yes. Use a palette preset, your own list of allowed blocks, a list of forbidden blocks, and block-by-block replacement in the preview.

Turn your 3D model into blocks

Upload an .obj or a zipped model, tune the size and palette while the preview updates, and download a .schem for WorldEdit, Litematica or Axiom. Free with a Spaleforce account.

Convert an OBJ file

Updated September 17, 2026